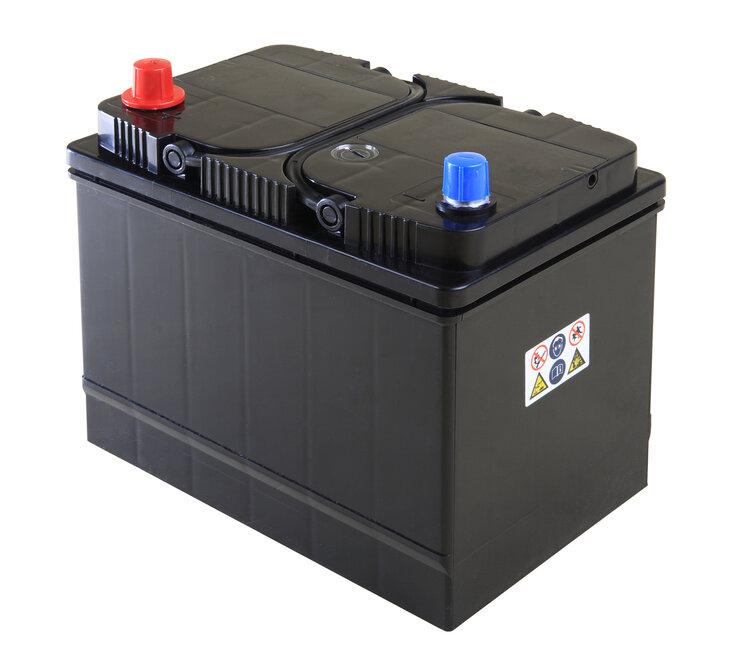
This 5 point test will let you know when your battery is in trouble.
-
VISUAL CHECK
-
Check battery is firmly held on the carrier, terminal cables are tight and clean
-
Check for cracks or acid leaks
-
Check battery is generally clean
-
Check other components of the electrical system (alternator, voltage regulator, connectors, ground cable) are working properly
-
-
HEADLIGHT TEST
-
Park near a wall or outside a garage door after dusk
-
Engine off, hand brake on, gear shift on park
-
Turn on headlights – if bright, battery is okay
-
If headlights are dim, start the engine
-
If lights brighten up with the engine on, the battery is suspect and needs checking
-
-
READ BUILT-IN CHARGE INDICATOR (if equipped)
-
On top of the battery, you’ll see the ‘Hydrometer Eye’
-
When the eye is GREEN, the battery is okay
-
When the eye is CLEAR, capacity is below 65% When the eye is RED, the battery is flat and needs immediate recharging. Note: the eye is just an indicator of the capacity in one cell and does not indicate whether the battery is “good” or “bad”. Only a battery test can determine that
-
-
VOLTMETER TEST
-
Voltmeter can also be used to check the battery voltage. Note: Multiply values below to the number of batteries in the pack if working on 24 or 48 volt system
-
A normal fully charged battery should read around 12.6~13.0 volts
-
If the battery voltage is below 12.5 volts, recharge the battery
-
If the battery is okay but is not holding charge, check the alternator drive belt
-
If the drive belt is tight, test the voltage regulator using volt-ohmmeter according to the manufacturer’s instructions or the vehicle’s manual
-
-
VOLTMETER — VEHICLE CHARGING TEST
-
With engine off read battery voltage using voltmeter (open headlights for 10 seconds to remove surface charge of the battery). Open circuit voltage should read between 12.5~13 volts
-
Start engine (make sure that vehicle is on park or neutral) – voltage drop on meter should not go lower than 10.5 volts and should stabilize to around 13.8~14.7 volts (without any accessories on)
-
If the voltage drops below 10.5 and the engine won’t start, the battery needs to be changed
-
If the voltage stabilizes below 13.8 after five minutes the system is undercharging the battery. This is the most common alternator problem. The condition is often accompanied by symptoms such as a low state of charge on the battery, poor or erratic performance from electrical components and dim headlights and other lighting systems. The first symptom of an undercharging alternator is a slow cranking engine (Note: when jump started, a severely discharged battery can cause the alternator to overload and internally fail)
-
If the voltage stabilizes above 14.8 volts after five minutes there’s a high possibility of the battery getting overcharged. Symptoms of overcharging include a swollen or “seeping” (acid flowing out of the vents) battery, both headlight bulbs failing at the same time, and other electrical system problems. Replace the alternator with an original (OE) unit. While an inferior rebuilt alternator is often much cheaper, it can fail prematurely causing another costly replacement or damage to other components
-
-
There are several electronic battery conductance testers on the market that can give quick test and evaluation of the battery. Some advanced models also incorporate an engine analyzer on the battery tester. They are not foolproof but can give a reasonable indication of state of battery charge and general health. Combined with the simple tests above, this reduces margin for error.

